[Reprinted from my Engineering Web Site www.cosjwt.com]
In 2006 I researched upgrading my home electric panel.
The inspector told me I would need to ensure two ground rods were installed to bring the installation up to code.
I was looking around the web for ideas and stumbled onto an amateur radio operator installing a tower. As part of his install he added ground rods. He described a simple method of using only water, time and patience to put even the longest ground rods into the ground.
His steps were something like:
- Dig a small bowl into the dirt where the ground rod will go,
- Pour in water to fill the bowl,
- Push the ground rod into the ground a few inches,
- Remove the ground rod and let the water flow in,
- Push the ground rod into the ground a inch or two more,
- Repeat while ensuring an adequate pool of water is in the “bowl.”
So long as you do not hit solid rock, the water will help your ground rod move dirt aside and go deeper.
Both ground rods for the electric installation went in without a hitch. Note the ground around my house where the ground rods are installed is fill dirt so the threat of deep bedrock was minimized.
I then turned my attention to antennas… specifically my planned 20m vertical.
Ground Rod for my Vertical Antenna
First things first. We need to understand why we are installing a ground rod in a vertical antenna system. Two reasons come to mind: lightning protection and RF counterpoise.
Lightning Protection
This is the traditional use of ground rods. The hope here is to dissipate the massive currents from direct or nearby lightning strikes to the earth by conducting the energy to the soil surrounding the ground rod. Practical ground rod systems for lightning protection use many rods connected with low inductance high current copper strap; This ensures the ground does not get saturated with current by spreading the energy over a larger area.
Another important point is how we connect our wire to the ground rod. Since lightning can quite easily jump small gaps, it is not all that important the connection between the wire and the ground rod be a low impedance. Using a traditional ground rod clamp to squeeze the wire against the ground rod provides all you need to conduct lightning energies although opinions vary. It is still a good idea to attempt a low ohmic connection as good engineering practice, but arcing will make your connection for you with small voltage potentials using a ground rod clamp. That said wouldn’t it be great fun to have an excuse to weld with Thermite?
RF Grounding Counterpoise
Here we have a completely different problem. Our goal is to conduct the other half of the RF signal coming from our coax to ground so our antenna will be “coupled” into an effective ground plane. At RF frequencies a ground rod is better than nothing, but less than ideal; A system of radial wires will improve this goal. For the sake of argument, however, let’s assume the ground rod will help. Unlike lightning which can and will arc between two conductors, we need a low RF ohmic connection for RF antenna currents. Thus only a wire soldered or brazed to the ground rod makes sense. That’s exactly what we did for our antenna ground rod.
While installing a Vertical Antenna system, I decided to use the water method again. This time, the installation was in a virgin farm field. The threat of rocks within eight feet of the surface was real.
Prepare the Ground Rod to Accept 14 AWG Wire
Ground rods are massive. Soldering wire to them is a challenge. I hear brazing is the preferred method. I opted to use a propane torch and silver solder. First I prepared the ground rod to accept solder just like you would prepare copper pipe…

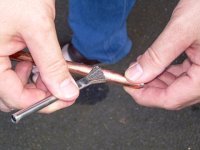
Strip a length of 14AWG wire…
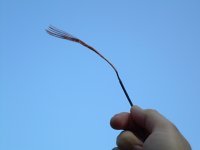
Wrap the stripped copper wire around copper ground rod, apply more flux and silver solder with a torch…
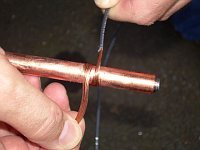

Heat the rod with the touch and let the wire get its heat from the rod. If you apply the flame to the wire it will instantly oxidize and make soldering more difficult.
Allow an hour for the ground rod to cool.
I enlisted the help of some children to see whether or not they could install an eight foot ground rod.
Dig a small bowl where you will install the ground rod. In this case we are adding a ground rod to the my new Vertical Antenna system.
Add some water to the hole and start plunging the rod into the dirt about one inch deeper per plunge. Don’t go too far or you will have difficulty pulling the ground rod out.
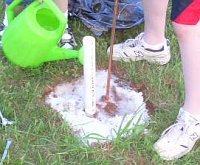
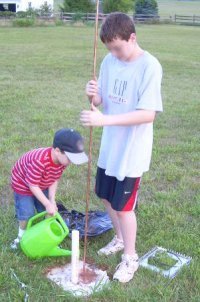
You can continue the water plunge technique until you have the ground rod at the desired depth. I decided to leave a foot exposed, re-install my ground radial plate and finish the installation by lightly tapping the ground rod down to the final depth.
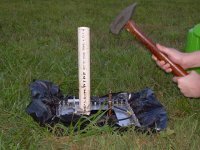
The Result
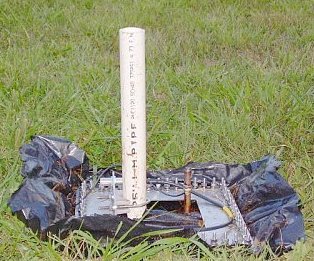
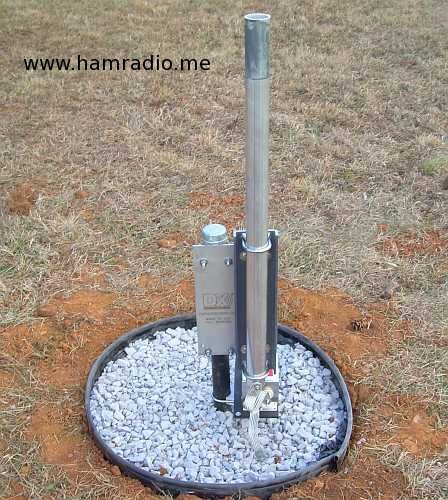
This is so cool I’ve tried it myself. As an electrician in Perth, I think this is way easier than the traditional way of installing ground rods.
This won't work in Arizona soil. Too rocky. Sometimes we hit caliche. Any other ideas and suggestions would be appreciated.